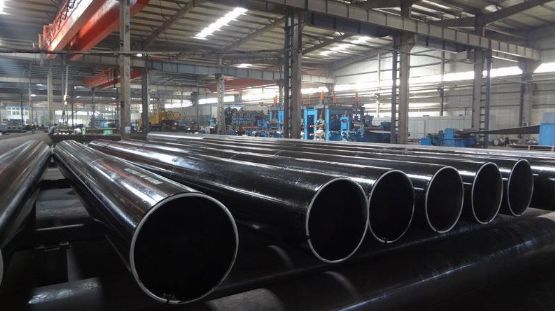
Quality Assessment Process of ERW Straight Seam Welded Pipe
1. Online non-destructive flaw detection
Rotate the detection arm of the flaw detection station and place it in the straight seam welded pipe production line, observe the position of the weld through the camera, adjust the front and rear positions of the probe with the operating lever, make the weld and the laser coincide, and save the parameters. Input the coil number of steel strip through DATASERVR and DACQ computer. Observe the waveform display on the flaw detection interface. When the waveform exceeds the alarm line, compare the thickness measurement information to determine whether it is a defect wave or interference wave signal, and visually inspect the pipe to see if the waveform exceeds the alarm line. If the waveform exceeds the alarm line, an alarm will be issued. Stop in time and readjust the welding parameters.

2. Metallographic inspection
(1) The metallographic microstructure of the weld. It is generally required to determine whether the coarse structure of the heat-affected zone is completely eliminated after the weld is heat-treated, and whether it is basically the same as the structure of the base metal, and whether there are inclusions in the weld fusion line. Generally speaking, the weld has no inclusions, no micro-cracks, and the organization structure is clear, indicating the weld seam grid.
(2) Metal streamline form. In high-frequency welding, the proximity effect and skin effect make the edge of the strip in a molten and semi-melted state. Under the pressure of the squeeze roll, the weld metal flows in and out, and the base metal on both sides of the weld rises to form a clamp. The angle, called the streamline angle α, is generally determined to be qualified when the weld is 40°~70°; beyond this range, the welding process parameters need to be adjusted in time.
3. Destructive test
(1) Flattening test. Cut about 100mm welded pipe and place it under the hydraulic press. The position of the weld is perpendicular to the pressing direction of the hydraulic press. Start the hydraulic pressure and slowly press down the welded pipe until it reaches 3/4 of the diameter. Check whether the weld is cracked. If there is no crack, weld the grid; if there is crack, adjust the welding process parameters in time.
(2) Flaring test. Cut about 100mm welded pipe and place it on a conical top core; place the conical top core under the hydraulic machine, start the oil pressure, and slowly press down the welded pipe. When it is flared to 8%, check whether the weld is cracked. If there is no crack, weld the grid; if there is crack, adjust the welding process parameters in time.
4. Hydraulic test
In the hydraulic test, first use flange clamps to seal the two ends of the welded pipe after welding the flange, then fill the pipe body with water and gradually apply pressure to the pressure required by the relevant standards. After a certain period of time, visually inspect the pipe body welding. Whether there is leakage at the seam. If there is no leakage, weld the grid; if there is leakage, adjust the welding process parameters in time. During the hydraulic test, there is no leakage at the welding seam, and the seam is welded. This is also the last process of welded pipe quality inspection.


