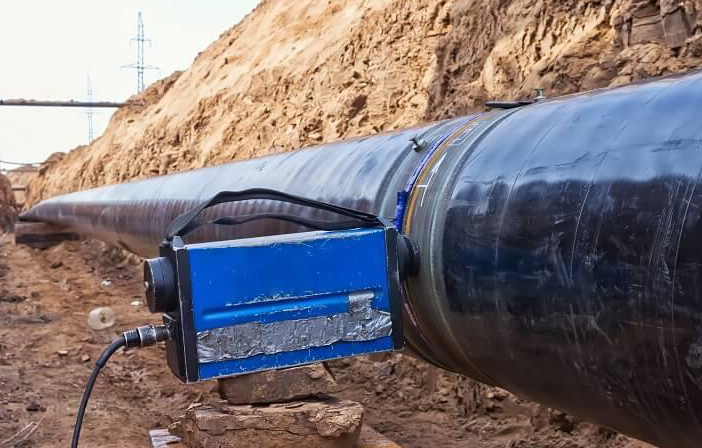
Radiographic Inspection of ERW Steel Pipes
Date:2022-09-29 keywords: erw pipe, radiographic inspection, RT
As one of the five conventional non-destructive testing methods, radiographic inspection has a very wide range of applications in the industry. It is used for both metal inspection and non-metal inspection. The defects that may occur inside the metal (such as carbon steel pipe), such as pores, pinholes, inclusions, porosity, cracks, segregation, incomplete penetration and insufficient fusion, can be inspected by radiography. The applied industries include special equipment, aerospace, ships, weapons, complete sets of hydraulic equipment and bridge steel structures.

Pipeline flaw detection is a method of radiographic flaw detection to check whether the internal quality of pipeline welds is qualified.
ERW steel pipe radiographic inspection (RT) is a method of using a certain ray to penetrate the steel pipe to inspect the internal defects of the weld. The commonly used methods of radiographic inspection include X-ray inspection, gamma-ray inspection, high-energy ray inspection and neutron inspection. For the commonly used industrial radiographic inspection, X-ray inspection and γ-ray inspection are generally used.
X-rays and γ-rays can pass through metal materials to varying degrees and produce photosensitive effects on photographic films. Using this property, when the ray passes through the ERW steel pipe weld to be inspected, due to the difference in the absorption capacity of the ray by the weld defect, the intensity of the ray falling on the film is different, and the degree of sensitivity of the film is also different, so that accurate , Reliably and non-destructively display the shape, location and size of defects.
1) The X-ray transillumination time is short and the speed is fast. When the inspection thickness is less than 30mm, the sensitivity of showing defects is high, but the equipment is complicated, the cost is high, and the penetrating ability is smaller than that of gamma rays.
2) Gamma rays can transilluminate 300mm-thick steel plates. It does not require power supply during transillumination, which is convenient for field work. It can be exposed at one time in the case of circular seams, but the transillumination time is long, and it is not suitable for transillumination of components smaller than 50mm.
The basic principle of radiographic inspection:
When a ray beam with uniform intensity irradiates the object, if there are defects or structural differences in the local area of the object, it will change the attenuation of the ray by the object, so that different parts of the transmitted ray have different intensities. In this way, a certain detector (for example, ray The film is used in photography) to detect the intensity of the transmitted rays, and then the defects and material distribution inside the object can be judged.
Rays have radiation biological effects on the human body and endanger human health. During the flaw detection operation, the relevant safety operation rules should be observed, and necessary protective measures should be taken. The working voltage of the X-ray flaw detection device is as high as tens of thousands of volts or even hundreds of thousands of volts, so attention should be paid to the danger of high voltage during operation.
©2017 Permanent Steel Manufacturing Co.,Ltd https://www.permanentsteel.com All Rights Reserved.
Terms of Sale|Privacy Policy


