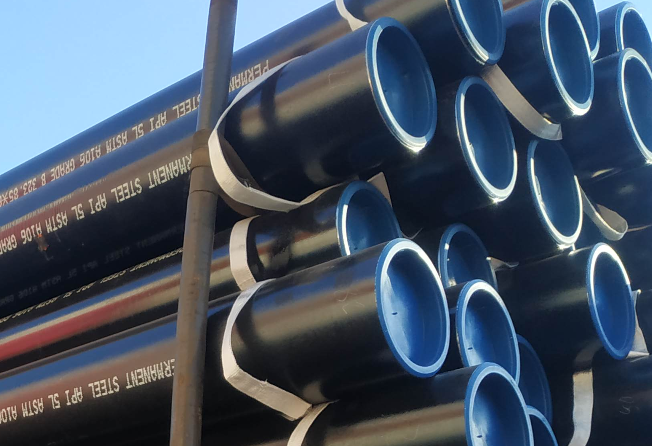
Hardness Test Method for Seamless Steel Pipe
The seamless steel pipe produced by the tensile test, the tensile tester of the sample will be pulled to the fracture, and the other measurement, usually only the mechanical properties of the tensile strength or more, the yield strength, the elongation and the reduction of the area . Tensile test is a test method for metal materials, almost all metal materials, as long as needed. Mechanical properties provide basic mechanical properties for tensile testing. In particular, those that are not easy to form a material hardness test, tensile test, as the only means of mechanical performance testing.

The hardness test is a rigid indenter hardness tester that is slowly pressed into the surface of the sample, and then the indentation depth or size is tested to determine the hardness of the material. The hardness test is the simplest, quickest and easiest to implement method of testing the mechanical properties of a material. Non-destructive hardness test, it is a similar value in terms of the relationship between the hardness and the tensile strength value. The hardness value of the material can be converted into tensile strength, which has great practical significance.
Since the tensile test is not easy to test, and the hardness of the conversion is very convenient, more and more people and only a small hardness test only tested their own strength. In particular, due to the continuous improvement and innovation of the hardness of the manufacturing technology, some of the original hardness can not be directly tested, such as seamless steel pipe, stainless steel plate and stainless steel belt, etc., can now be directly tested hardness. Therefore, there is a tendency to gradually replace the hardness test tensile test.
Hardness index of seamless steel pipe:
For seamless steel pipes, three commonly used hardnesses are Brinell, Rockwell and Vickers.
A. Brinell hardness (HB)
Use a steel ball or cemented carbide ball with a certain diameter to press into the surface of the sample with the specified test force (F), remove the test force after the specified holding time, and measure the indentation diameter (L) on the surface of the sample. The Brinell hardness value is the quotient of the test force divided by the surface area of the indentation spherical. Expressed in HBS (steel ball), the unit is N/mm2 (MPa).
B. Rockwell hardness (HR)
The Rockwell hardness test, like the Brinell hardness test, is an indentation test method. The difference is that it measures the depth of the indentation. That is, under the successive action of the initial test force (Fo) and the total test force (F), the indenter (cone or steel ball) is pressed into the surface of the sample, and after the specified holding time, the main force is removed. For the test force, use the measured residual indentation depth increment (e) to calculate the hardness value. Its value is an unnamed number, represented by the symbol HR, and the scales used are A, B, C, D, E, F, G, H, K, etc. 9 scales. Among them, the scales commonly used in steel hardness tests are generally A, B, and C, namely HRA, HRB, and HRC.
Rockwell hardness test is a widely used method, among which HRC is second only to Brinell hardness HB in steel pipe standards. Rockwell hardness can be used to measure metal materials from extremely soft to extremely hard. It makes up for the inconvenience of the Brinell method and is simpler than the Brinell method. The hardness value can be read directly from the dial of the hardness machine. However, due to its small indentation, the hardness value is not as accurate as the Brinell method.
C. Vickers hardness (HV)
Vickers hardness test is also an indentation test method, which is to press a regular quadrangular pyramid diamond indenter with an angle of 1360 opposite sides into the test surface with a selected test force (F), and remove the test after a specified holding time. Force, measure the length of the two diagonals of the indentation.


